Winterization is crucial for protecting plumbing systems from freezing temperatures and preventing costly pipe bursts and leaks. As a plumbing trade professional, it is essential to understand the steps involved in winterizing both interior and exterior plumbing.

This article provides expert winterization tips to share with your customers to ensure their plumbing system remains intact during winter months.
Steps to Winterize Interior Plumbing
- Shut off the main water valve: Locate the main water valve, usually found in the basement, crawl space, or mechanical room. Shutting off the main water supply and opening all faucets will help drain the system effectively. For multilevel homes, start draining from the lowest level, while for single-level homes, begin from the tap closest to the main shutoff valve.
- Adjust water heater settings: Set the water heater to the lowest temperature or “vacation mode” to prevent the tank from freezing. This step eliminates the need to relight the pilot upon the homeowner’s return.
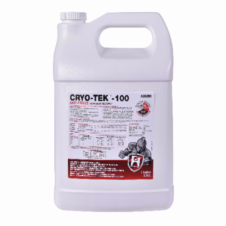
 Flush toilets and add antifreeze: After turning off the water and draining the system, flush all toilets to remove excess water from the tanks. Additionally, recommend pouring an environmentally safe antifreeze into the toilet bowl and tank to lubricate the flapper/seals and prevent dry rotting. Hercules® Cryo-Tek™ 1 gal -100 Antifreeze is a ready to use 55% Virgin Propylene Glycol formula designed for hydronic heating and cooling closed loop systems and general plumbing systems that require freeze protection. Any Hercules Cryo-Tek product can be added to protect pipes from freezing and bursting. It also prevents freeze-ups in chiller systems, recreational vehicles, seasonal homes, mobile homes, trailers, boats, and industrial use.
- Prepare drains with antifreeze: Pour antifreeze into shower, tub, floor, and sink drains to prevent freezing and maintain trap seals. This step ensures that water in the traps does not freeze or evaporate.
- Maintain heat and air circulation: Keep the thermostat set to at least 55°F to prevent pipe freeze damage. Additionally, encourage clients to have their heating system inspected and serviced for optimal performance. Recommend keeping cabinet doors beneath bathroom and kitchen sinks open to allow warm air to reach the pipes.
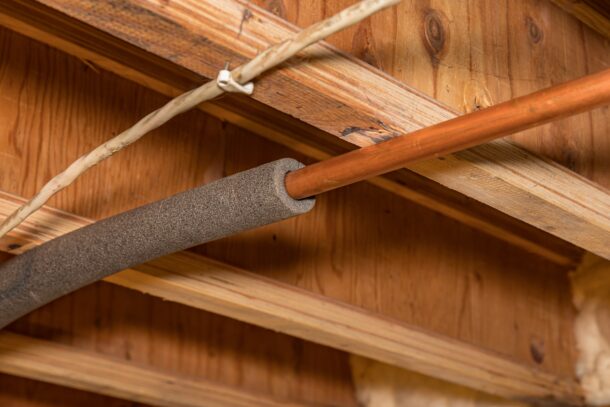
- Insulate exposed piping: Protect pipes in uninsulated areas and along exterior walls by covering them with insulating sleeves or wrap. This safeguards the plumbing system against frigid temperatures.

- Seal off the garage: Advise homeowners to keep their garage doors shut to prevent cold drafts from reaching the plumbing on adjacent walls. Suggest adding a vinyl or rubber strip to the bottom of the garage door for better insulation against cold air and potential mold prevention.
Steps to Winterize Exterior Plumbing
- Turn off external water supply valves: Locate the isolation valves on the water lines leading to the external water supply (usually in the basement, crawl space, or mechanical room) and shut them off. Open all taps until water is completely drained from the outside hose bibbs.
- Disconnect garden hoses: Recommend clients remove garden hoses and fittings from the hose bibbs to prevent freezing. Water expands when it freezes and can cause pipe damage. To prevent valve damage, we suggest using an air compressor to blow out any residual water in the exterior lines.
- Clear gutters and downspouts: Advise homeowners to clean out their gutters and downspouts to ensure proper water flow and prevent ice build-up, which can lead to costly repairs.
- Seal cracks and gaps: Check for any visible cracks or gaps in siding, door frames, or windows. Use a sealant to fill both exterior and interior cracks, effectively blocking drafts that can lead to frozen pipes and increased utility bills.
Preventing frozen pipes during the winter requires thorough winterization both inside and outside the property. Following the steps outlined in this guide will help protect your clients’ plumbing systems and save them from potential headaches and expensive repairs.

About the Author
Sean Comerford is Technical Applications Manager at Oatey Co. He is third-generation tradesman with nearly 20 years of plumbing experience, including serving as the lead plumber for commercial/residential new construction, service and fire protection jobs. He holds a State of Ohio Fire Protection License for Sprinkler and Standpipe.

 Flush toilets and add antifreeze: After turning off the water and draining the system, flush all toilets to remove excess water from the tanks. Additionally, recommend pouring an environmentally safe


Join the conversation: