A recent Gallup poll found that 63% of Americans are worried about the safety of their drinking water. Except in extreme cases, these concerns are mostly unfounded as America’s drinking water is among the safest in the World. However, these concerns are understandable considering that the quality of our water is subject to threats old Read more
copper tubing

A recent Gallup poll found that 63% of Americans are worried about the safety of their drinking water. Except in extreme cases, these concerns are mostly unfounded as America’s drinking water is among the safest in the World. However, these concerns are understandable considering that the quality of our water is subject to threats old, like millions of lead pipes, and new chemical contamination from things like PFAS.
Protecting North America’s water safety requires a three-step approach: understanding and recognizing modern water quality threats, specifying safe materials, and following correct installation procedure.
Water Quality Threats
Water quality threats are still abundant. A 2018 study identified 163 different substances that have the potential to leach from common piping materials. These substances range from alcohols to hydrocarbons, ketones, esters, metals, peroxides, phthalates, alkyl phenols, organotins, halogenated compounds and vinyl compounds, including some known or suspected as environmental contaminants or carcinogens. Of these, water quality standards only exist for 89 of them. The other 74 are not currently regulated or understood, leaving a gray area on what effects they may have on our water quality and health.
Replacing lead water pipes with copper piping between the street and homes in Flint, Michigan October 28, 2016. (John M. Galloway)
While additional research may help determine the total effect on water quality and health, these substances are a concern and should be taken into consideration when selecting a piping material.
Specifying with Copper
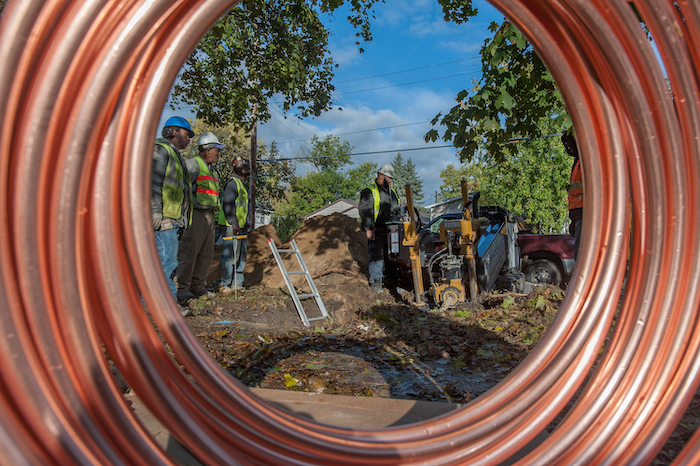
A reliable way to avoid these threats is to select copper, a time-tested, durable, proven piping material. Copper is safe; it won’t release potentially harmful chemicals into the water, it won’t give off toxic fumes in a fire, and it won’t allow harmful chemicals to permeate through the pipe wall. It is natural—made of 99.9% pure copper—and is accepted by all plumbing codes.
Below, is a brief, step-by-step guide for strong, leak-free solder joints—one of the most common joining methods for copper drinking water systems, provided by the Copper Development Association (CDA). CDA has been instrumental in developing the soldering procedures that are now standard in the copper and plumbing industry, and has since taught these procedures to hundreds of thousands of installers across the country and throughout the world.

Proper soldering technique when working with copper pipe.
To assist contractors and installers, CDA has produced several do-it-yourself videos to its “Do it Proper with Copper” YouTube video series. Additionally, the Copper Tube Handbook, available on www.copper.org, provides additional step-by-step installation guides for all copper joining methods. CDA recommends the following four steps for properly soldering joints:
Step One: Preheat the Tube
First, heat the interior surfaces of the fitting/component with heat from the tube surface. The preheating of the tube should be undertaken with the appropriately sized torch tip directing the flame perpendicular to the tube, about the same distance from the fitting cup as the length of tube that is inserted into the solder cup (i.e. if the fitting cup is 1-inch deep, preheat the tube approximately 1-inch beyond the face of the joint). While there is no definitive time limit on preheating, the tube should be preheated until the flux at the face of the joint begins to become active (begin showing signs of cleaning the tube/fitting surfaces).
Step Two: Preheat the Fitting/Component
Once the appropriate preheat has been applied to the tube, the flame should be moved back onto the fitting/component surface to the base of the fitting cup. Preheating of the fitting is most effective if the torch is directed from the back of the fitting cup to the face of the solder cup. This torch position directs the greatest amount of heat from the back of the fitting cup towards the face, where the solder will be applied. This allows for the primary flame of the torch to concentrate heat into the fitting/component while allowing the secondary flame to keep the tube surface at temperature.
Step Three: Apply Heat and Solder
The copper tube has excellent thermal conductivity so as it is heated, it will conduct heat throughout the tube length inside the fitting space. In addition, as the tube expands into the fitting cup, it will maintain a small capillary space between the two and help to heat the fitting cup from the inside. On horizontal joints, preheating should focus on the bottom two-thirds of the tube. Heat it until the tube is very close to soldering temperature, as indicated by the soldering flux beginning to bubble and clean the surface.

Copper Tube Handbook
Next, move the heat to the base of the fitting cup to bring it up to soldering temperature. Point the torch tip from the face of the fitting cup out towards the tube so the cooler part of the flame continues to keep the tube at soldering temperature. Then apply the heat to the base of the fitting cup. On horizontal joints, that should be somewhere off center near the bottom of the joint, before solder is added. If the solder doesn’t begin to melt, continue to preheat. Once the solder begins to melt, the torch should be moved along with the solder, keeping the heat only slightly ahead of where solder is being applied.
Step Four: Cooling and Cleaning
The completed soldered joint should be allowed to cool slowly and naturally. The new, no-lead alloys may not reject heat as quickly as their predecessors due to their lower thermal conductivity. By controlling the amount of heat applied, an individual can ensure the bare minimum required to facilitate full solder melting and flow is used. This allows the solder to solidify and cool to the joint quickly after the heat is removed.
If the proper soldering procedures are followed, particularly in the preheating and heating process, consistent, high-quality solder joints can be achieved between copper tube and fittings/components.
Durable, Reliable Piping Systems
Compared to copper pipes, no other material has the long history of reliable, leak-free installation in a wide variety of systems and settings, protects the water system from contamination, and does so with proven value. Plus, when copper’s long life cycle finally comes to an end, its high recyclability allows it to be reformed into new products with zero loss of performance. The choice is obvious, the choice is copper.
To learn more about copper piping and installation best practices, visit www.copper.org.
Andrew G. Kireta Jr. is vice president of the Copper Development Association Inc. (CDA). Kireta is responsible for the use of copper and copper alloy systems and products in building construction applications, including plumbing, mechanical and architectural systems.